A Step-by-Step Guide to Building Electronic Prototypes
Electronic prototypes are crucial stepping stones in developing innovative electronic devices and products. They allow inventors, engineers, and hobbyists to test their ideas, validate concepts, and identify potential challenges before moving forward with full-scale production. This step-by-step guide will explore the process of transforming a mere idea into a tangible electronic prototype.
-
Define Your Objective
Every successful project begins with a clear objective. Define the purpose of your electronic prototype. Are you creating a smart home device, a wearable tech gadget, or an automation system? Understanding your end goal will help guide the entire prototyping process.
-
Conduct Market Research
Before diving into the prototyping phase, research the existing market to identify similar products or solutions. Analyze their features, advantages, and drawbacks. This research will enable you to identify potential areas for improvement and differentiation in your own design.
-
Sketch and Plan
Visualize your electronic prototype on paper. Sketch the layout, components, and connections. Plan the circuitry and user interface. This preliminary planning will provide a roadmap for the actual prototyping process.
-
Choose the Right Components
Selecting appropriate components is crucial for the success of your electronic prototype. Depending on your project’s requirements, choose microcontrollers, sensors, actuators, displays, transistor parts, and other electronic elements carefully. Consider factors like power consumption, compatibility, and availability.
-
Breadboarding
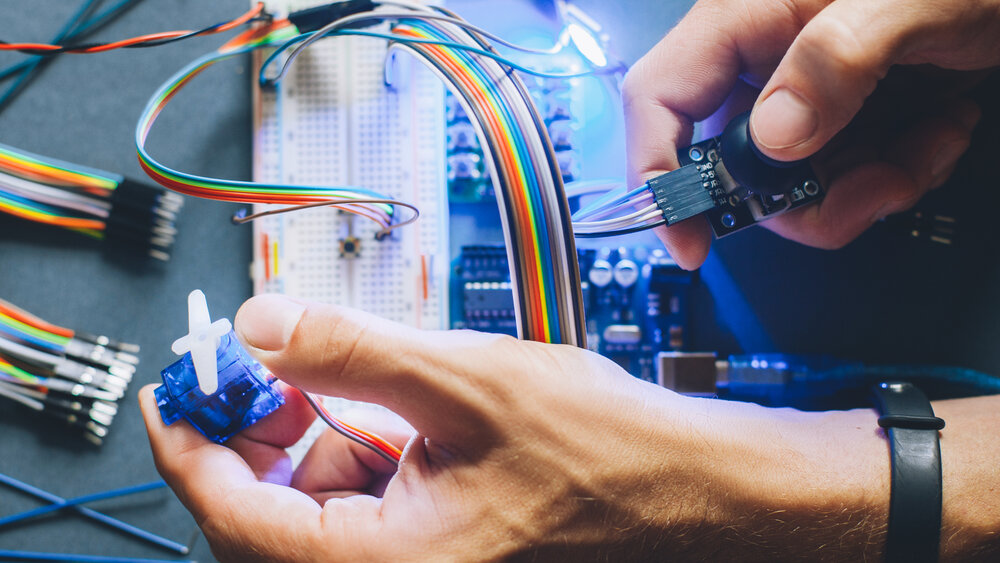
Breadboarding is an essential step that involves building a preliminary version of your circuit on a breadboard. This allows you to experiment with different component placements and connections without soldering quickly. Verify that the basic functionalities of your prototype work as intended.
-
Circuit Design and Simulation
Using computer-aided design (CAD) software, create a detailed circuit diagram. Ensure the connections are correct, and simulate the circuit to anticipate its behavior. This step will help you identify and resolve potential issues before moving on to the physical prototype.
-
PCB Design
A Printed Circuit Board (PCB) is a compact and efficient way to implement your electronic circuit. Design a custom PCB layout using PCB design software or pre-designed modules if appropriate. PCBs offer reliability and a more professional appearance to your prototype.
-
Component Sourcing
Gather all the required components based on your circuit and PCB design. Order them from reputable suppliers, ensuring you have the necessary quantities and backups in case of any defects or failures.
-
Prototype Assembly
Solder the components onto the PCB following the circuit design. Pay close attention to soldering techniques to avoid any shorts or cold joints. Double-check all connections and components before applying power.
-
Testing and Debugging
Testing is a critical phase of the prototyping process. Power up your electronic prototype and check each function and interface. Record any issues or malfunctions and systematically debug the circuit to pinpoint the root causes.
-
Iteration and Improvement
Based on the testing results, make necessary improvements to your prototype. This might involve circuit modifications, component replacements, or firmware updates. Repeat the assembly, testing, and debugging stages until you achieve the desired performance.
-
Enclosure Design
If your electronic prototype requires an enclosure, design one that fits the components and provides adequate protection. Consider factors like accessibility, user interaction, and aesthetics.
-
Final Testing
Perform a comprehensive round of testing on the fully assembled prototype. Validate its functionality, reliability, and user experience. Seek feedback from others to gain valuable insights.
-
Document and Prepare for Production
Thoroughly document the entire prototyping process, including circuit diagrams, PCB layouts, and component lists. This documentation will be invaluable for future development, troubleshooting, and potential production.
In conclusion, building an electronic prototype involves careful planning, systematic testing, and continuous improvement. This step-by-step guide should serve as a foundation for turning your creative ideas into a tangible reality. Prototyping not only helps refine your design but also saves time, money, and resources in the long run by identifying and addressing potential issues early in the development process. So, embrace the iterative nature of prototyping and enjoy the journey of transforming your brilliant ideas into functional electronic prototypes.
See Also:
The Role Of Paper Shredding In Protecting Your Digital Marketing Business


